Post by Colodie on Feb 18, 2010 20:17:05 GMT -5
Or How I Learned to Stop Worrying and Love the Kong (Part II)
And now the upper body region of the Kong. Please, join me.
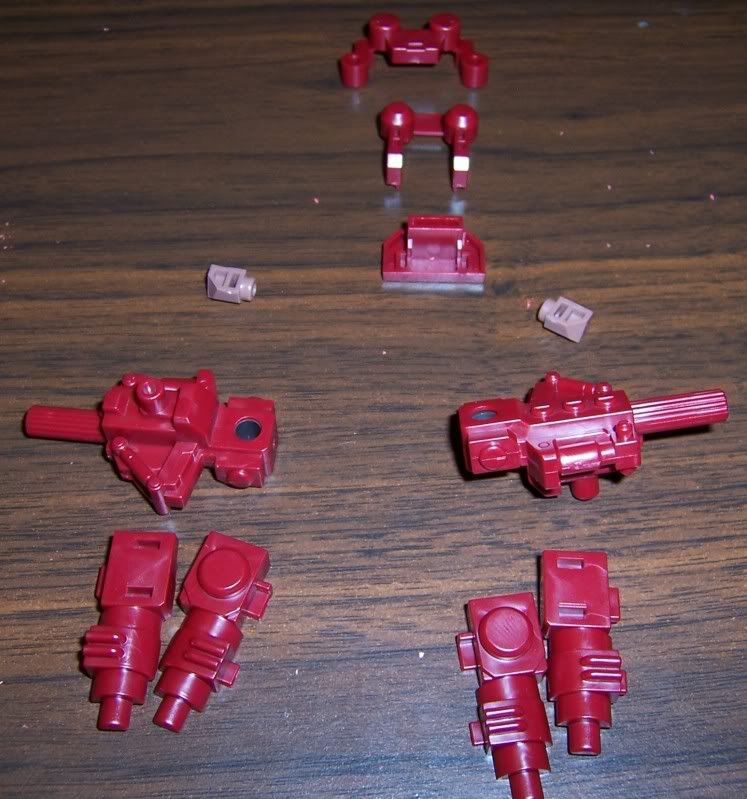
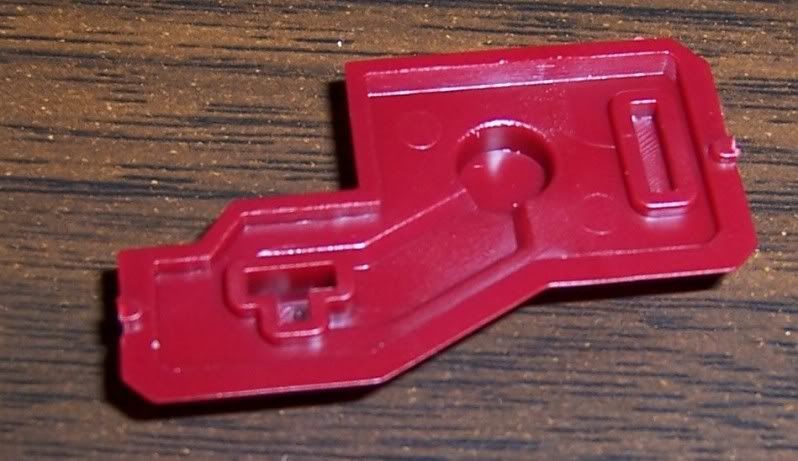
Step 10:
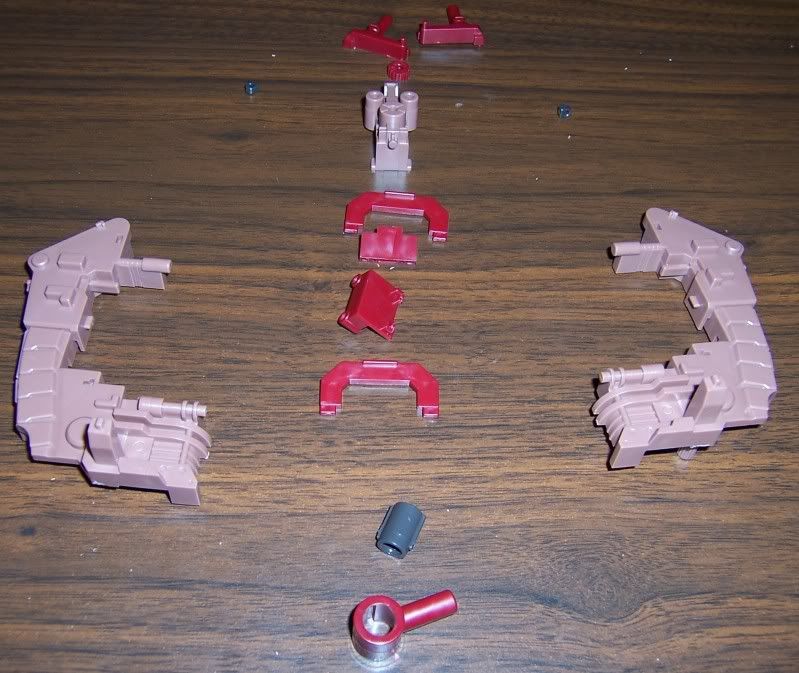
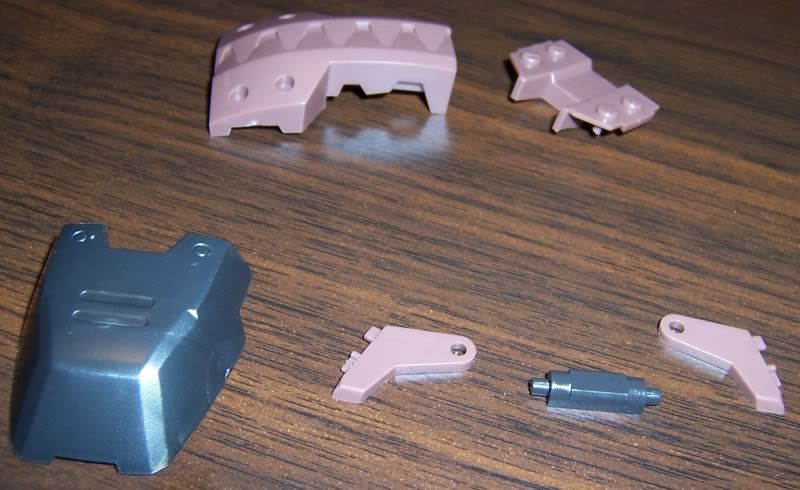
And here's the parts. Note those two nice big hefty pieces. They make me happy.
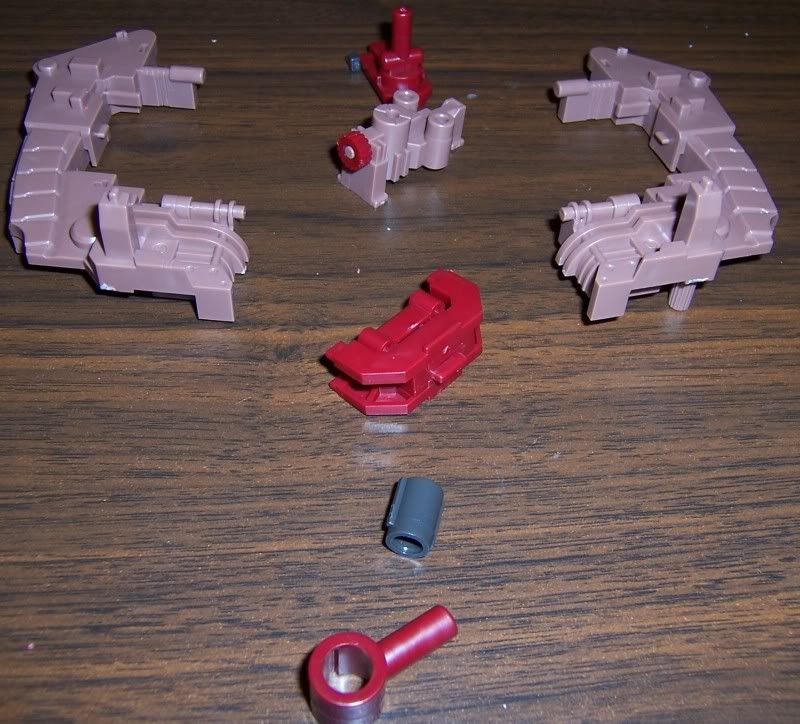
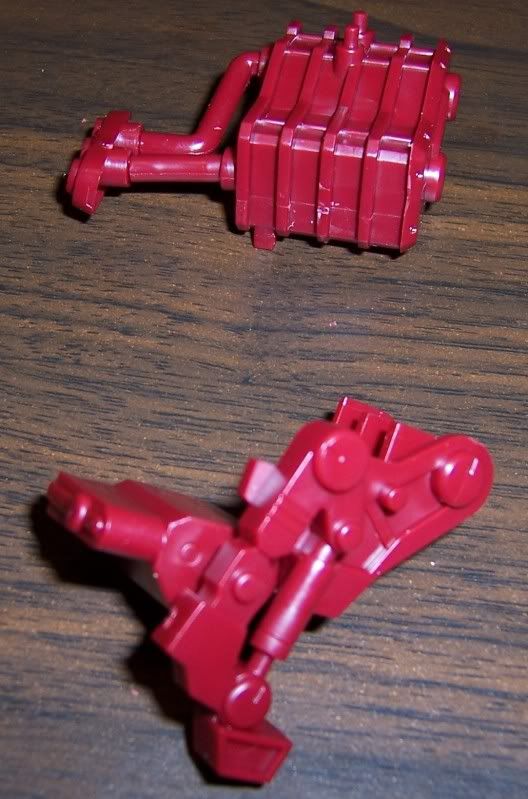
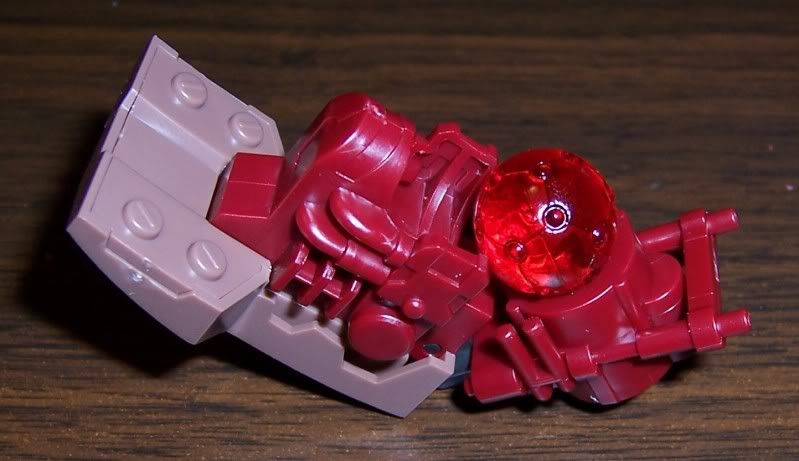
Some of the sub pieces are assembled...
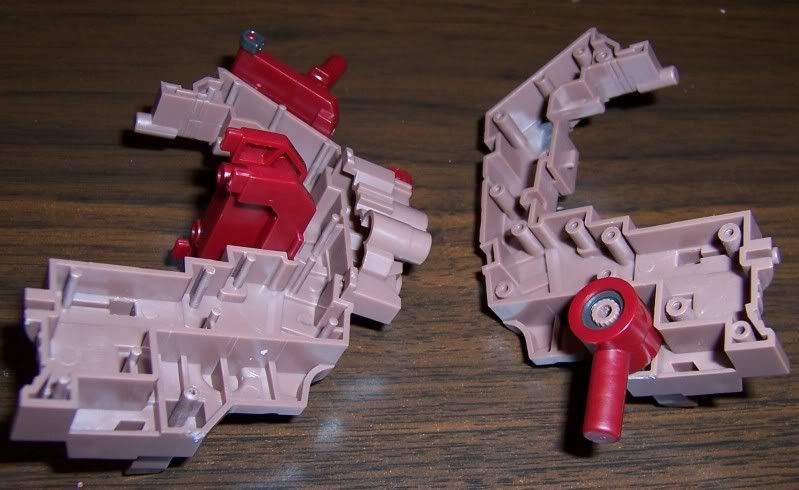
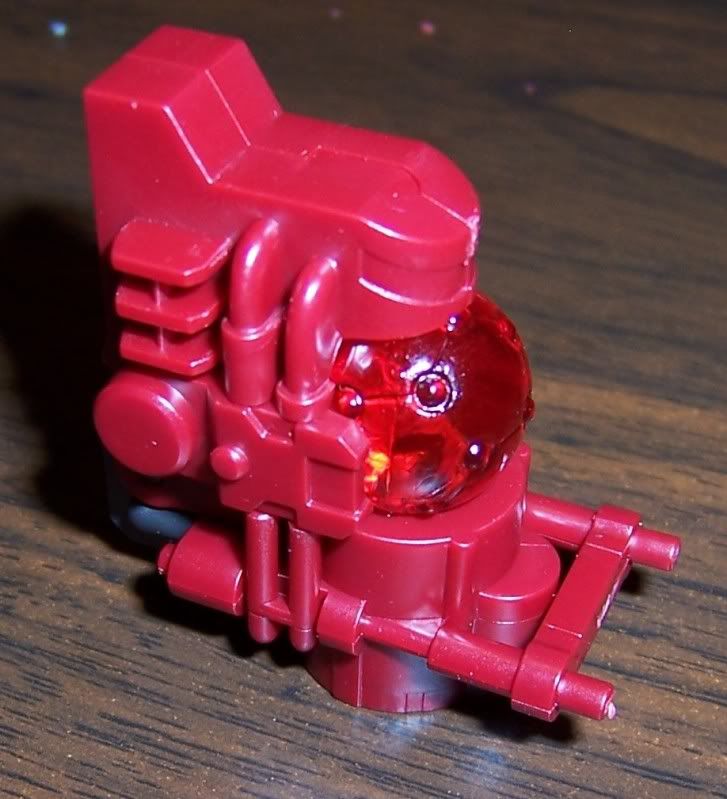
And that's most of the way. I forgot to take a picture of the finished step. Just image the finished step 11, but minus some parts. My notes also read "Mr. Clamp".I can't remember exactly, but I think it was a bit fiddly putting the two big pieces together. I now remember that the the red peg with the grey plastic inside was a pain. Hence Mr. Clamp.
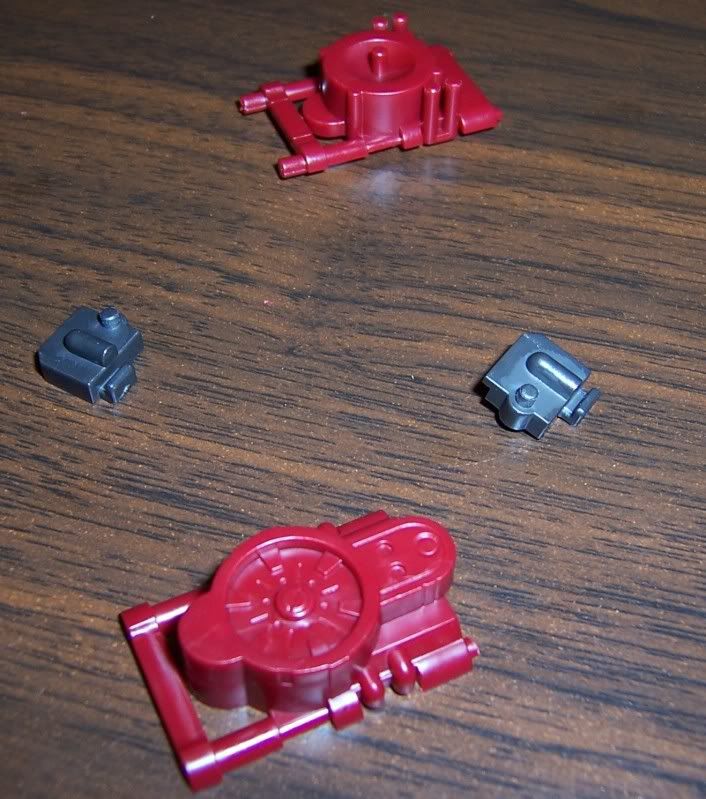
Step 11:
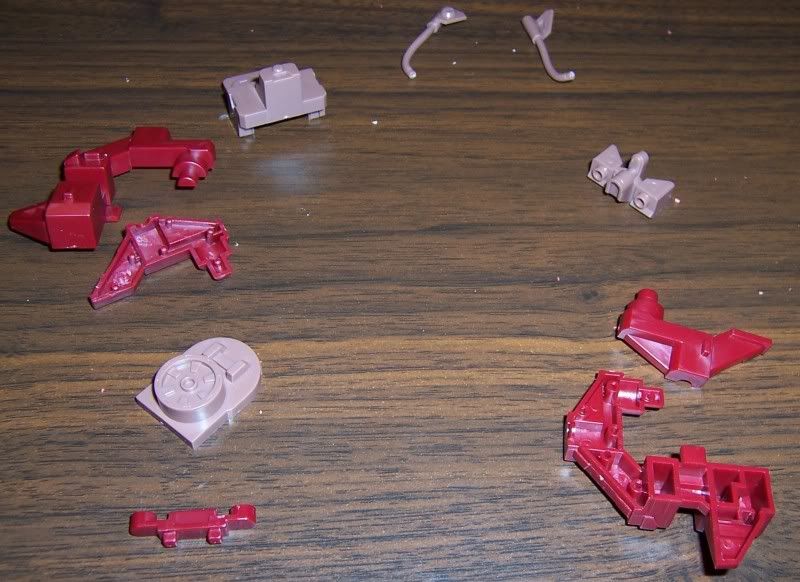
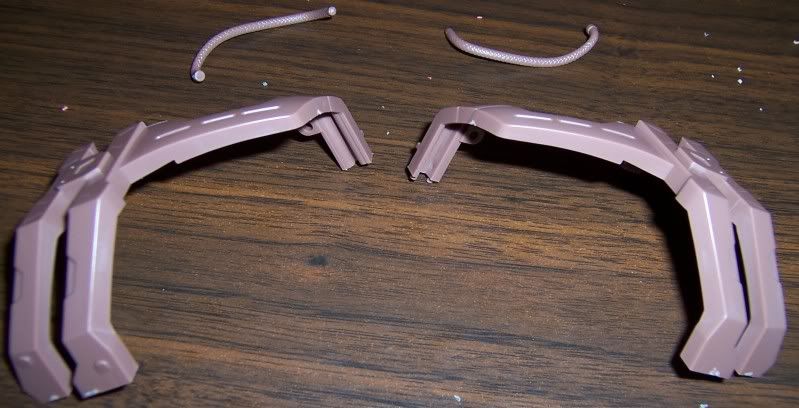
And more parts.

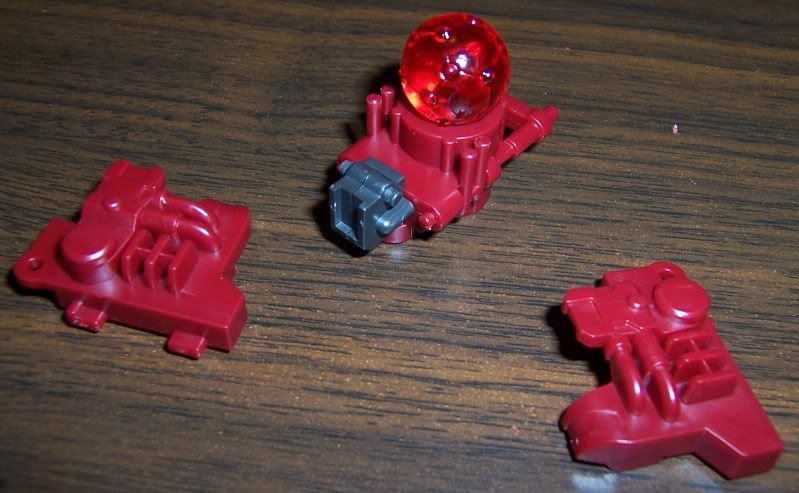
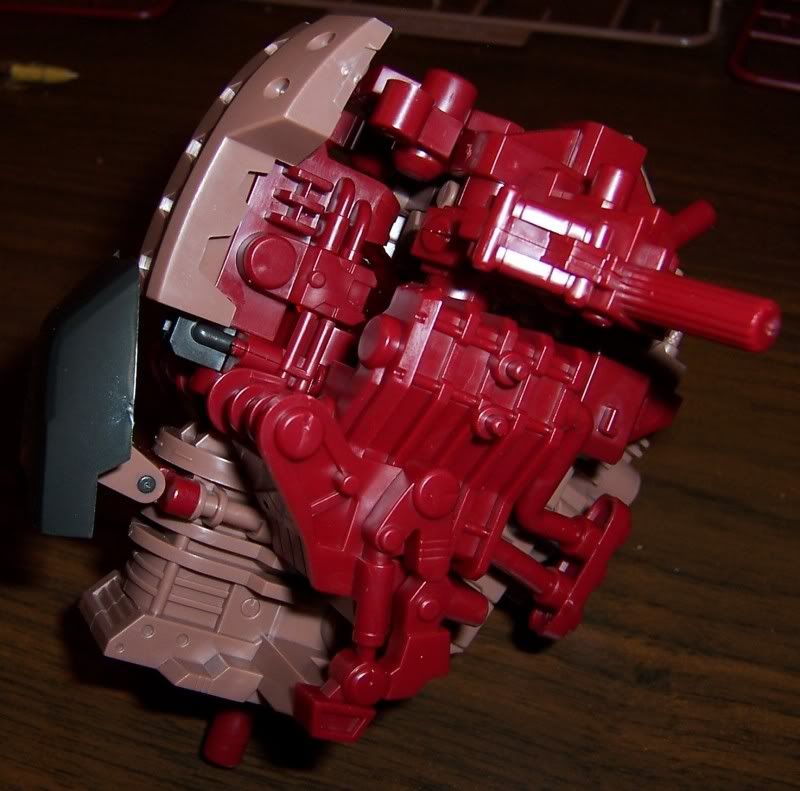
Partially assembled...
And all the way. And I recommend doing both hoses at the same time. As the instructions are a bit fiddly. But either way it's not an issue.
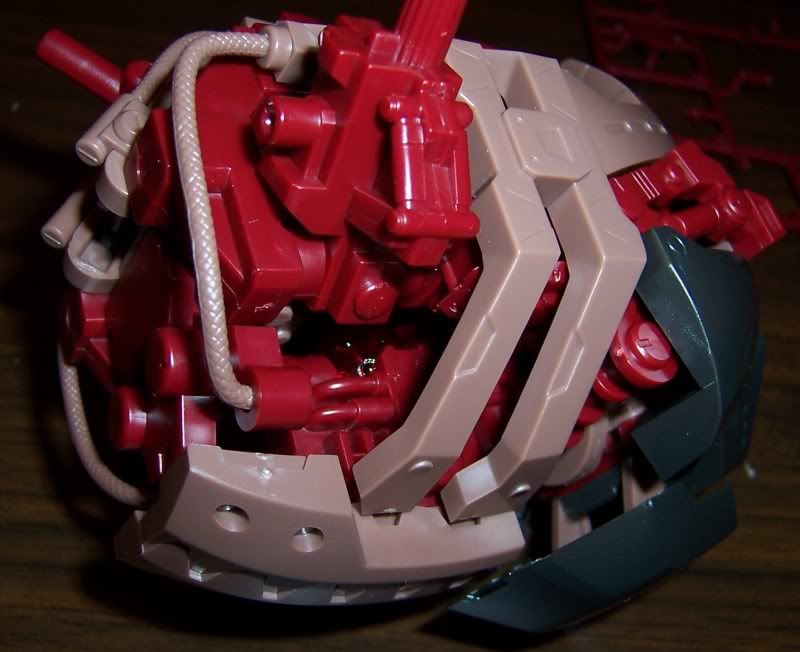
Step 12:

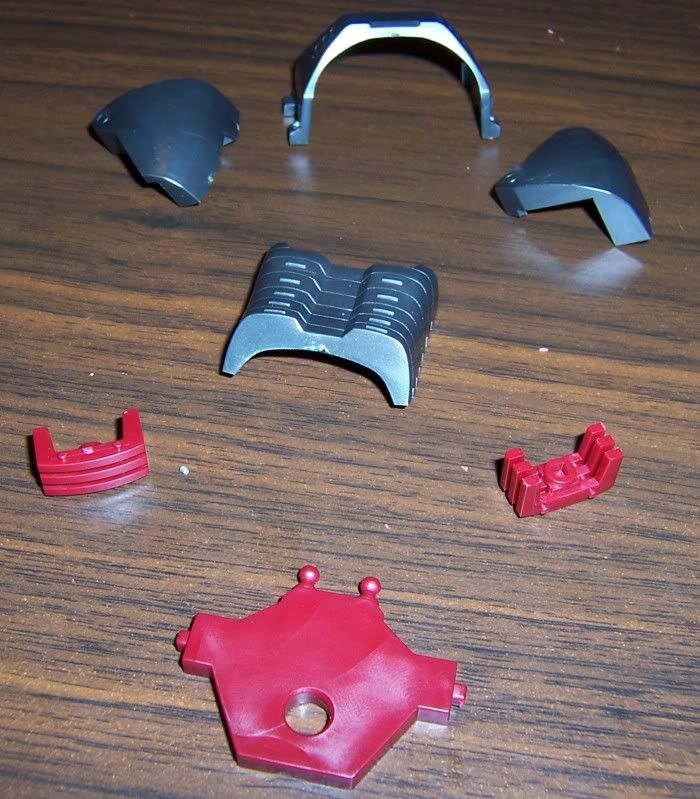
Parts.
Assembled.
More parts.

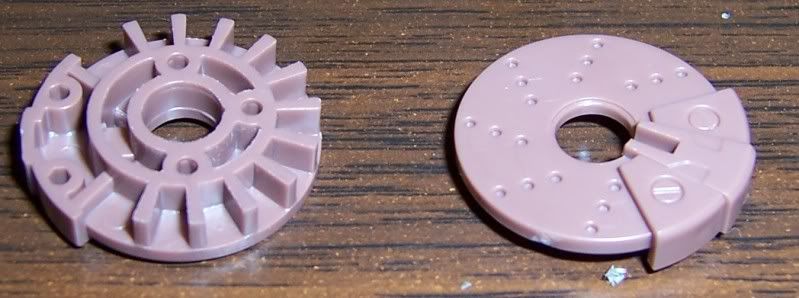
And all the way. The red things, with the big red smooth circles on em were a bit of a pain to install.
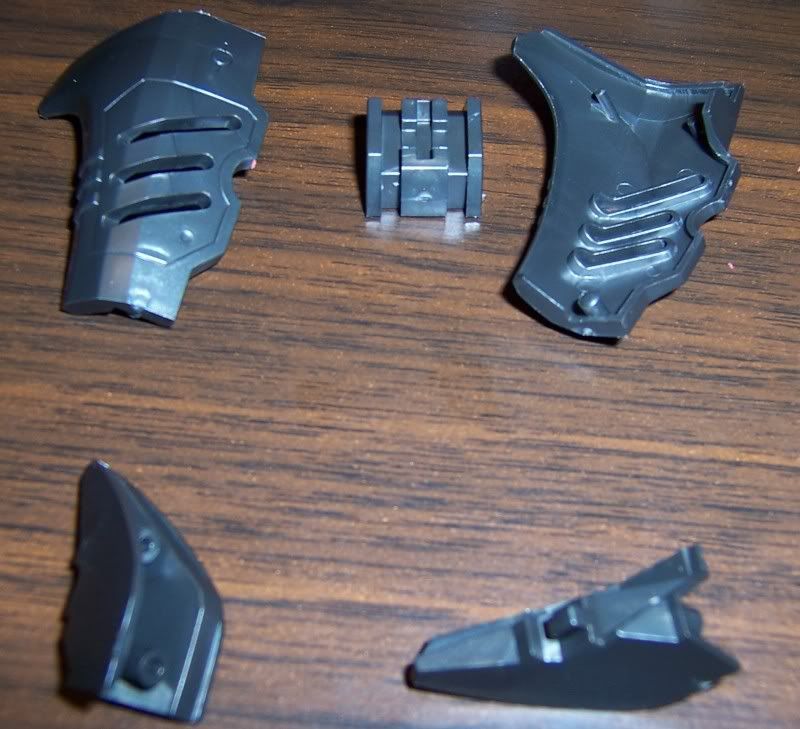
Step 13:
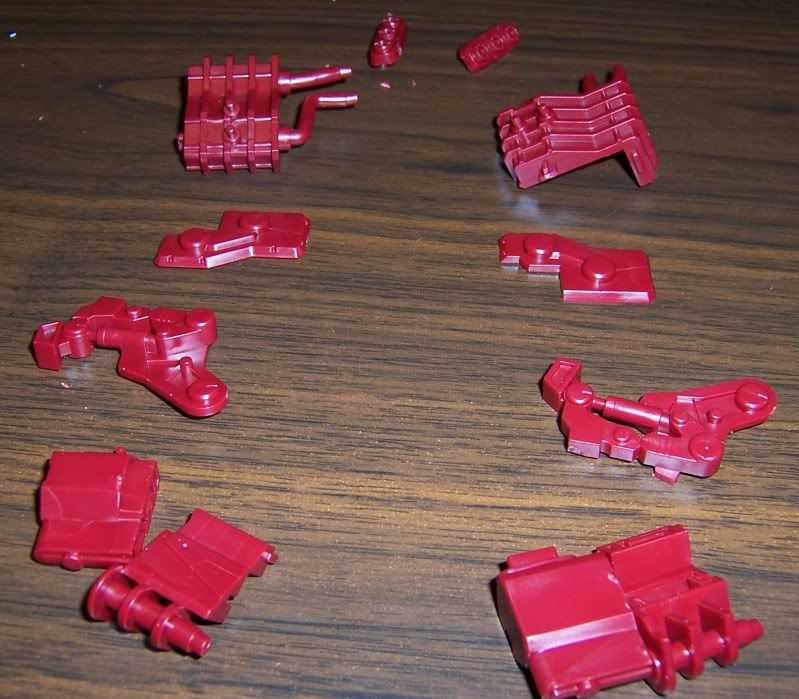
All the parts.
Kong trying to kill me. This part is attached in a special way so that there's still flash attached. But as you can see it is flush with the piece, which requires a cutting motion that, could, put your thumb in close proximity to sharp pointy edge of blade. Remember, always cut away. (Note, I didn't actually cut myself. But I could see it happening).
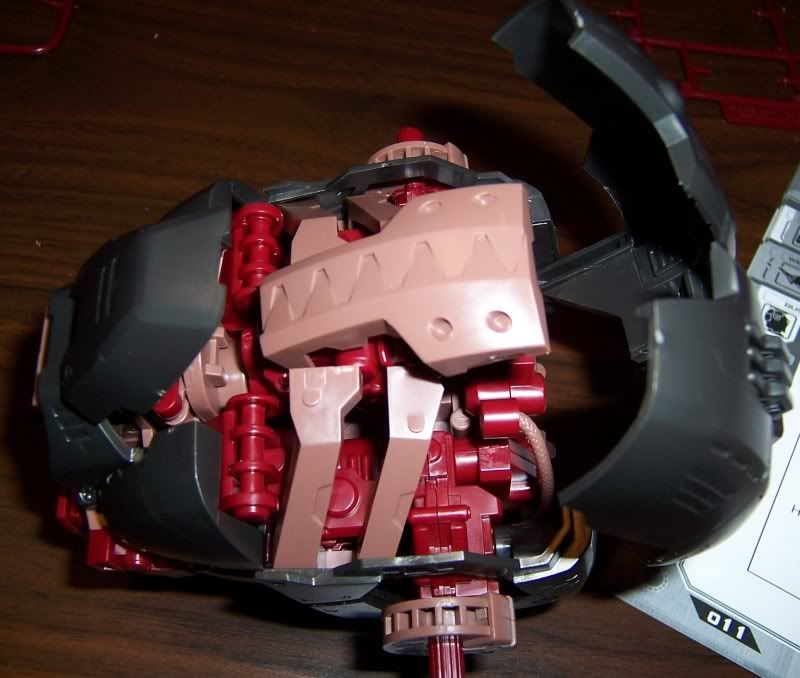
Some of the sub parts assembled.

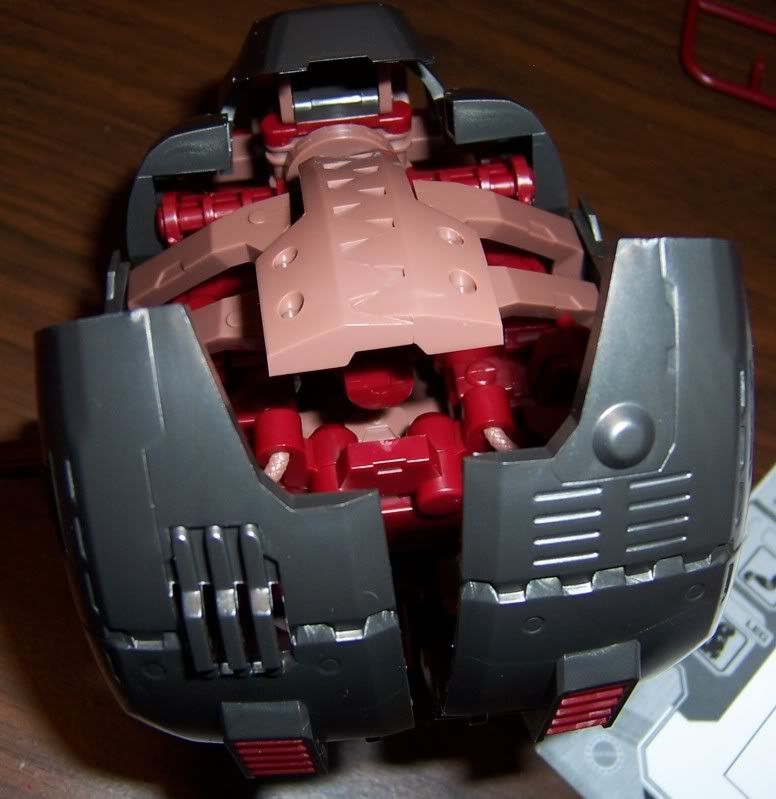
And the final product.
Step 14:
Parts.
Yup.
'er we go. Nothing complicated.
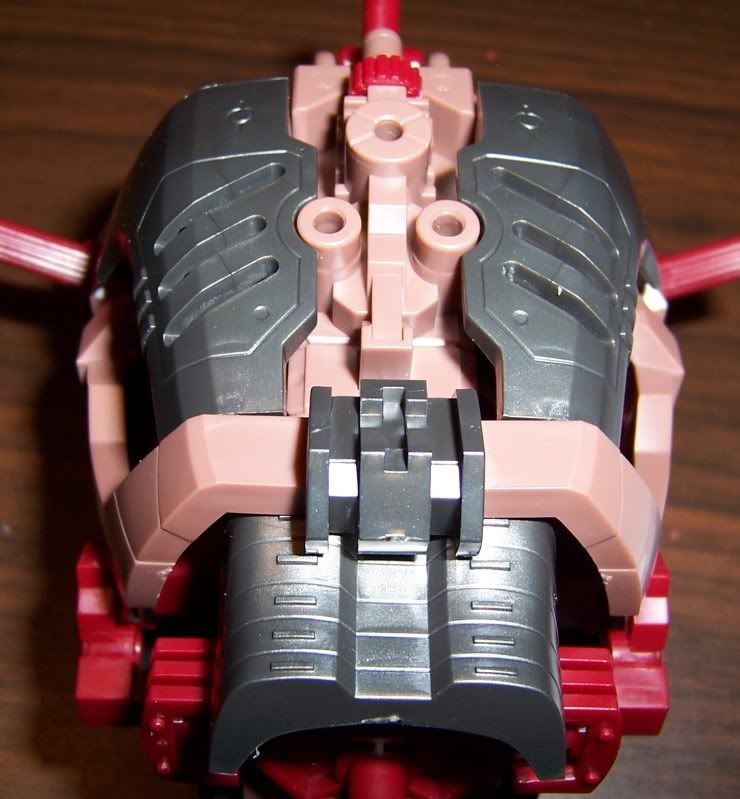
Step 15:
Parts.
Upper parts stuck to said Zoid Core container.
Take note of the lower piece. It falls of it you touch it. Pity it's a moving piece.
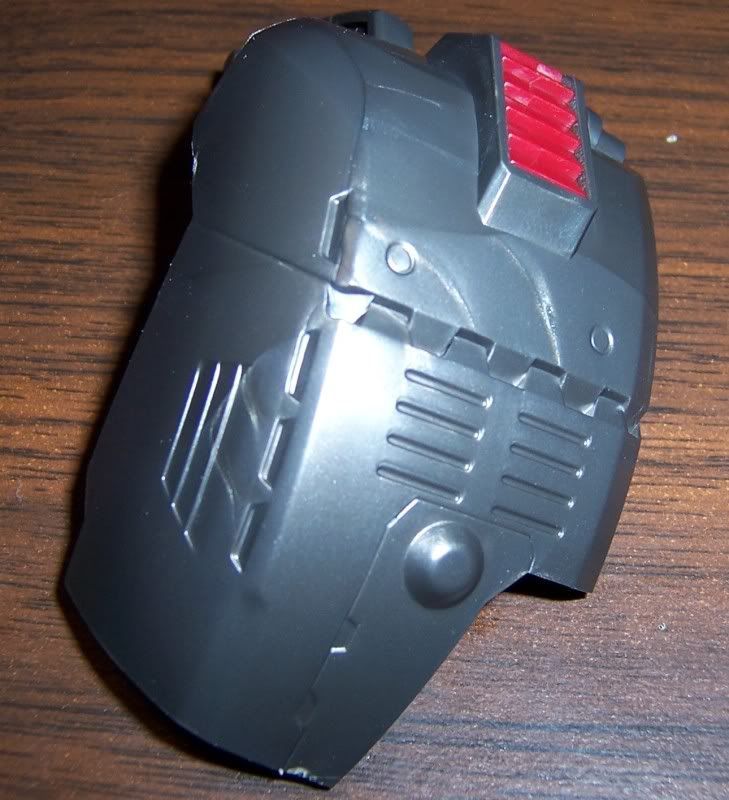
Step 16:
I'm running out of ways to say it's the part for the step. From henceforth, a [1] will be provided. It shall stand for 'It's the parts. For the step.
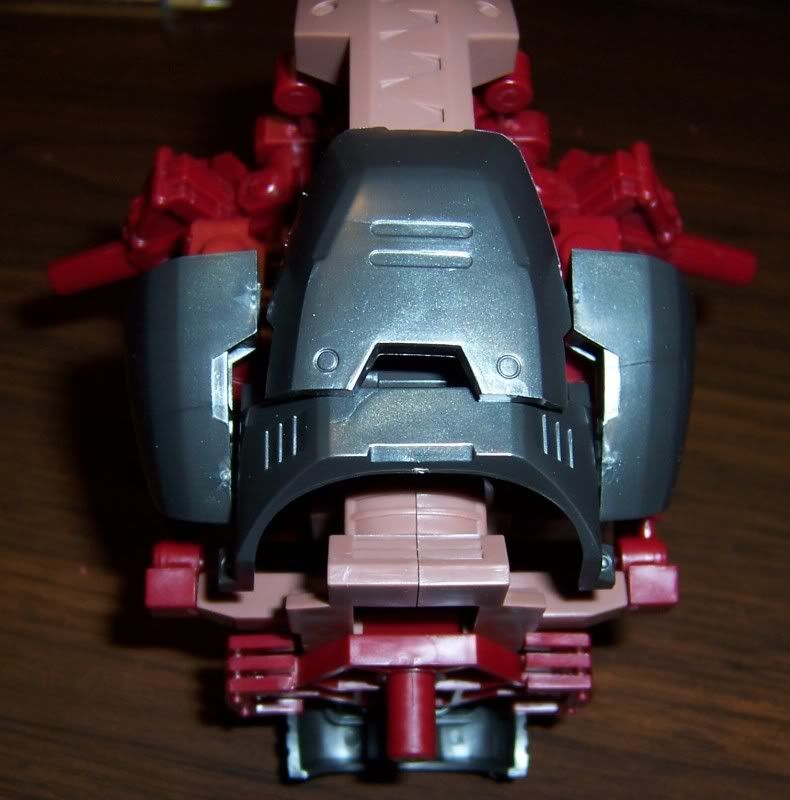
Slap em on the front...
... and slap em on the back.
Step 17:
Heck look, the ribs.
On they go. Had to press them on a bit. Small issue, with the ribs installed, the Zoid Core container doesn't want to open smoothly. And if you want to remove it wholesale, you'll have to fiddle with said ribs. Again, not a huge issue..., but could be better.
Step 18:
Yup.
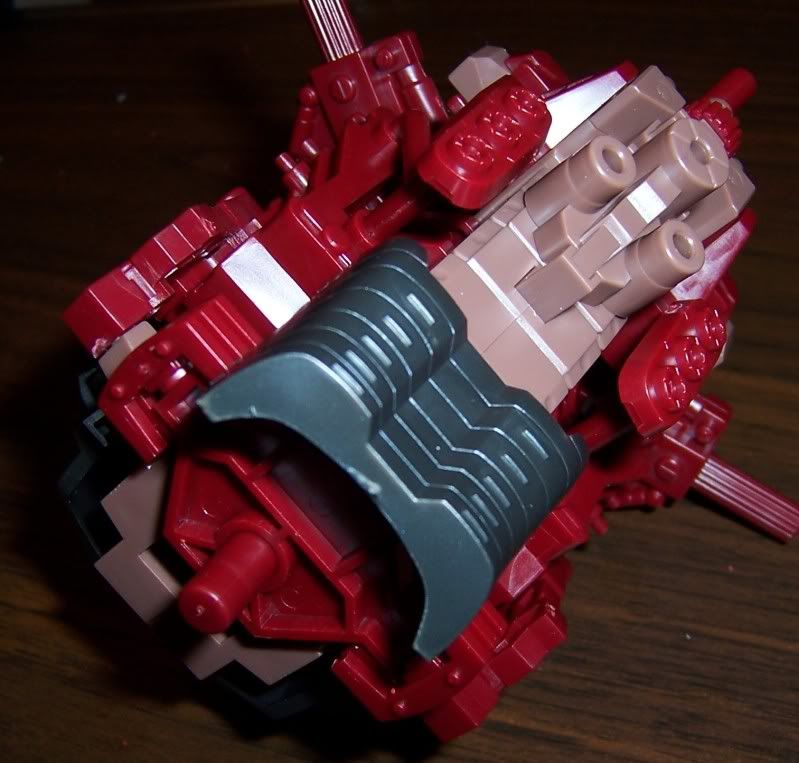
And here's the back of the body with said pieces installed.
Step 19:

[1]

Nothing to exciting.
Step 20:
It's the same as 19. Except for the other side.
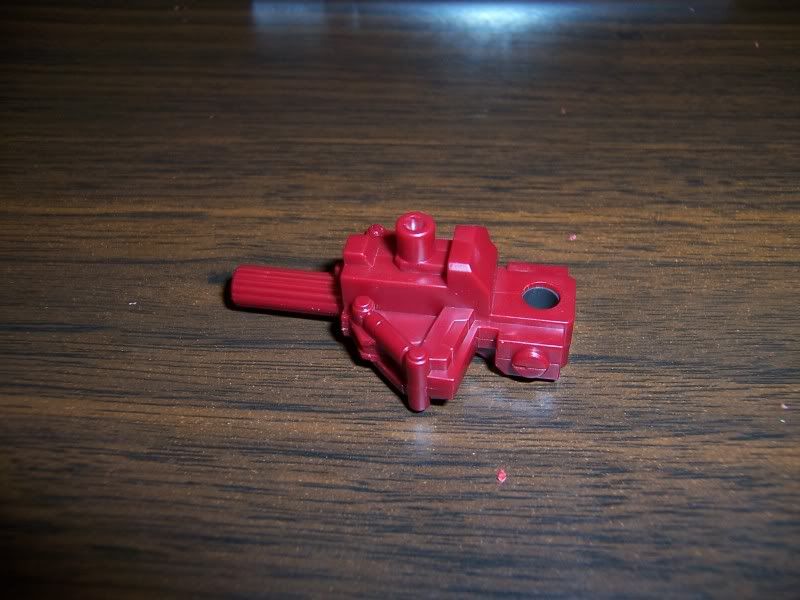
Step 21:

You though I was kidding about the [1]?
This part isn't exactly rocket science.

Nor is this. You add step 19.
Step 22:
Again, the same as step 21. Although the pieces is slightly different. You'll see it in a sec.
Step 23:
[1]
Step 21 and 22 are put on, then those rings things are added.
Another view. You can see how step 22 has a different piece.
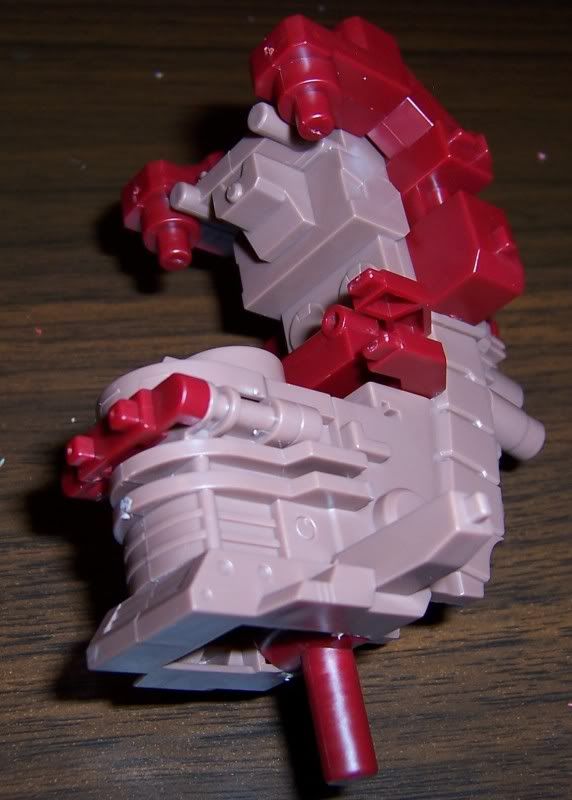
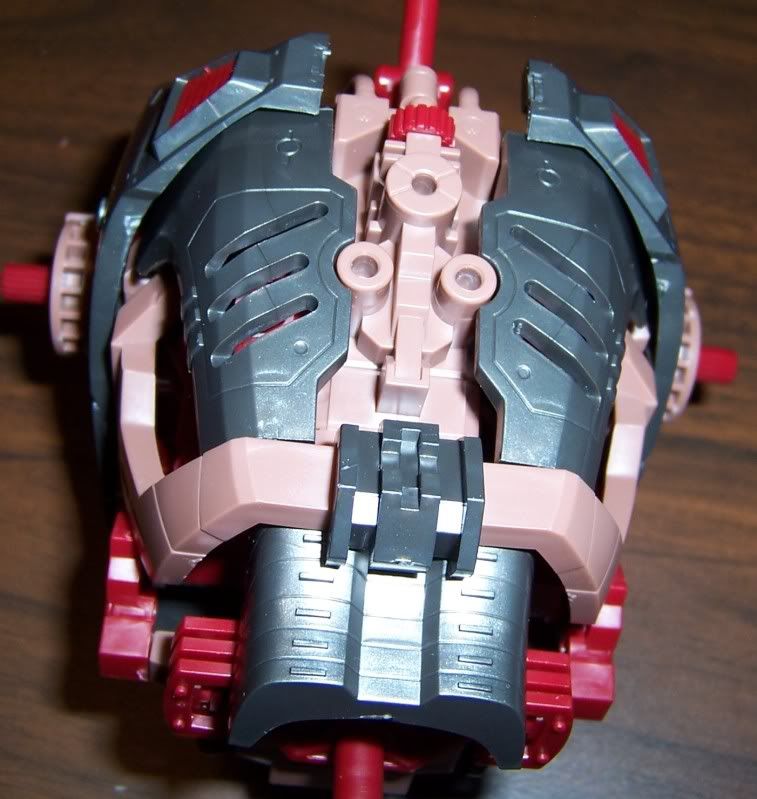
The upper body:
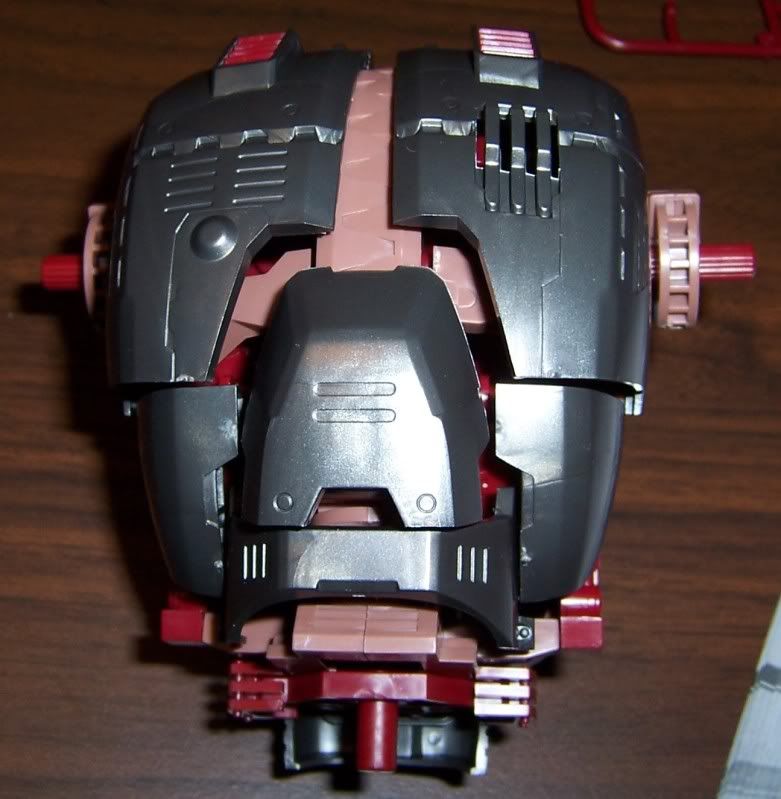
And another pic.
More to come. Hopefully by the end of the month.
And now the upper body region of the Kong. Please, join me.
Step 10:
And here's the parts. Note those two nice big hefty pieces. They make me happy.
Some of the sub pieces are assembled...
And that's most of the way. I forgot to take a picture of the finished step. Just image the finished step 11, but minus some parts. My notes also read "Mr. Clamp".
Step 11:
And more parts.
Partially assembled...
And all the way. And I recommend doing both hoses at the same time. As the instructions are a bit fiddly. But either way it's not an issue.
Step 12:
Parts.
Assembled.
More parts.
And all the way. The red things, with the big red smooth circles on em were a bit of a pain to install.
Step 13:
All the parts.
Kong trying to kill me. This part is attached in a special way so that there's still flash attached. But as you can see it is flush with the piece, which requires a cutting motion that, could, put your thumb in close proximity to sharp pointy edge of blade. Remember, always cut away. (Note, I didn't actually cut myself. But I could see it happening).
Some of the sub parts assembled.
And the final product.
Step 14:
Parts.
Yup.
'er we go. Nothing complicated.
Step 15:
Parts.
Upper parts stuck to said Zoid Core container.
Take note of the lower piece. It falls of it you touch it. Pity it's a moving piece.
Step 16:
I'm running out of ways to say it's the part for the step. From henceforth, a [1] will be provided. It shall stand for 'It's the parts. For the step.
Slap em on the front...
... and slap em on the back.
Step 17:
Heck look, the ribs.
On they go. Had to press them on a bit. Small issue, with the ribs installed, the Zoid Core container doesn't want to open smoothly. And if you want to remove it wholesale, you'll have to fiddle with said ribs. Again, not a huge issue..., but could be better.
Step 18:
Yup.
And here's the back of the body with said pieces installed.
Step 19:
[1]
Nothing to exciting.
Step 20:
It's the same as 19. Except for the other side.
Step 21:
You though I was kidding about the [1]?
This part isn't exactly rocket science.
Nor is this. You add step 19.
Step 22:
Again, the same as step 21. Although the pieces is slightly different. You'll see it in a sec.
Step 23:
[1]
Step 21 and 22 are put on, then those rings things are added.
Another view. You can see how step 22 has a different piece.
The upper body:
And another pic.
More to come. Hopefully by the end of the month.