Post by Colodie on Feb 12, 2010 19:16:00 GMT -5
or How I Learned to Stop Worrying and Love the Kong.
Please join me on an adventure as I lose my sanity while constructing HMM Iron Kong.
The first task at hand was getting the frames out of their plastic wrap (a few had already managed that, which was slightly disconcerting) and get them alphabetized and laid out. Said frames can be view here. Replace the 1 with 2 through 9 to see them all.
Ten minutes later, it was time to start construction.
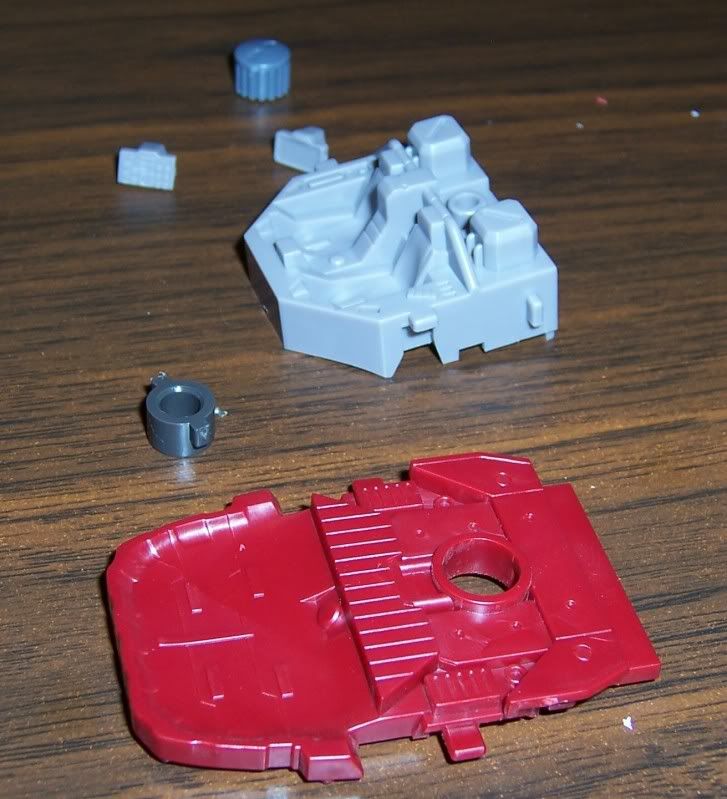
Step 1:

The parts are laid out. Assembling them is straightforward, except for that one piece in the center. The instructions didn't give much detail (yay!), so I put it in the only way it would go.

Halfway there...
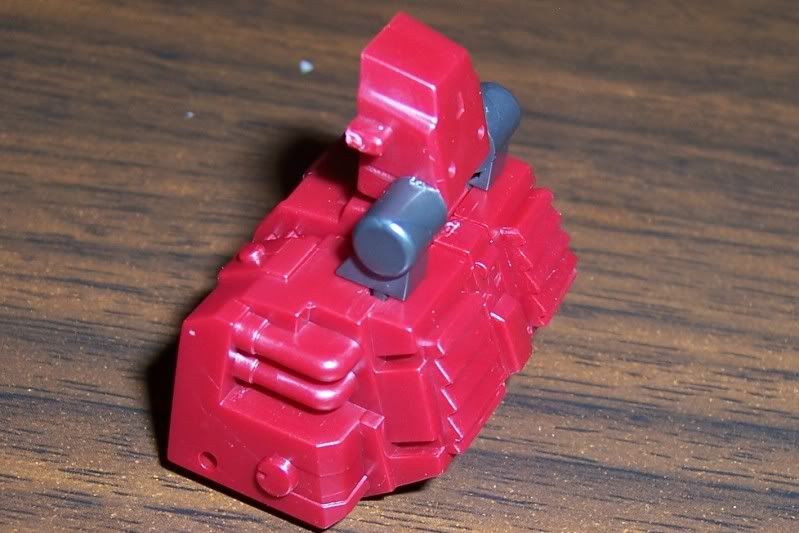
And 'er we go. Step one complete!
Onwards, to step 2!
And the parts. I find it odd that there are 3 different types of caps. There are also two different consoles. One with buttons, one with a screen. And they must go in the right place, no left one in the right or vice versa say the instructions. On one hand, I appreciate the detail. On the other hand, I find it odd how this is very apparent in the instructions, but other parts (see step 1) are more vague.

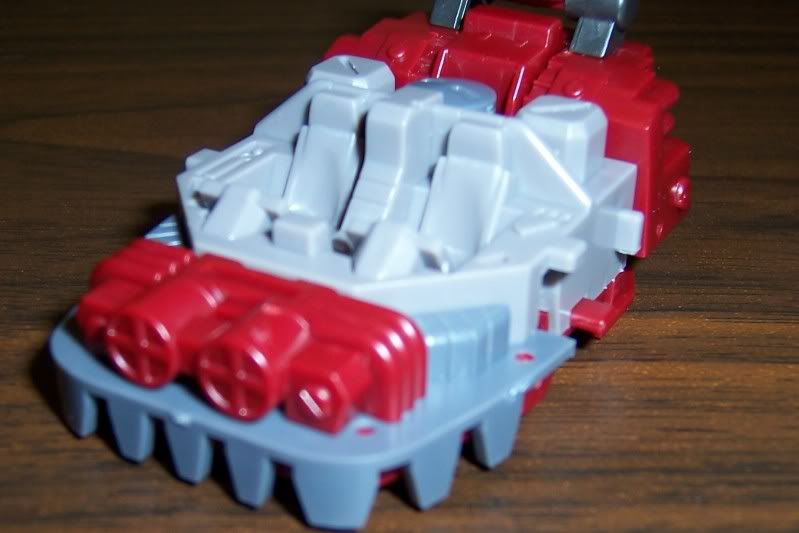
And that's what it looks like assembled. Step 1 is also added.
Step 3.
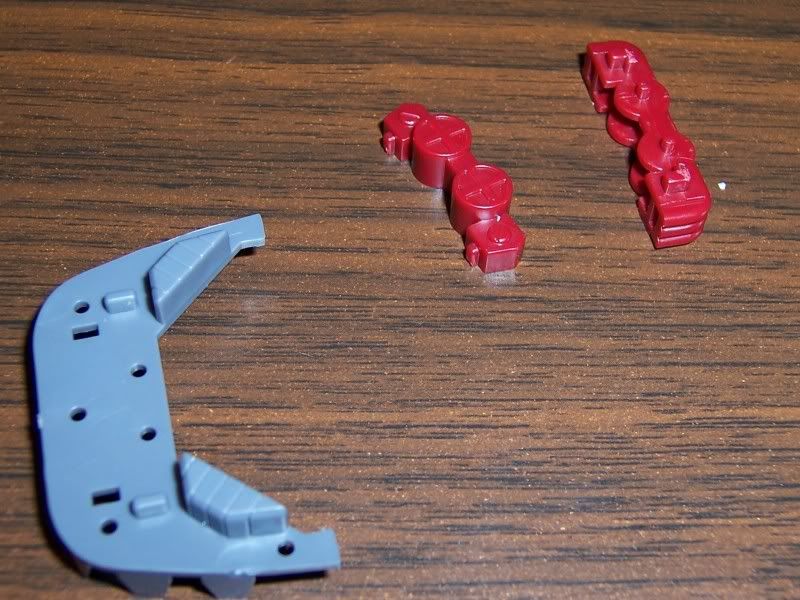
Parts.
And they are assembled and stuck on to Step 2. Nothing special.
But there are more parts!
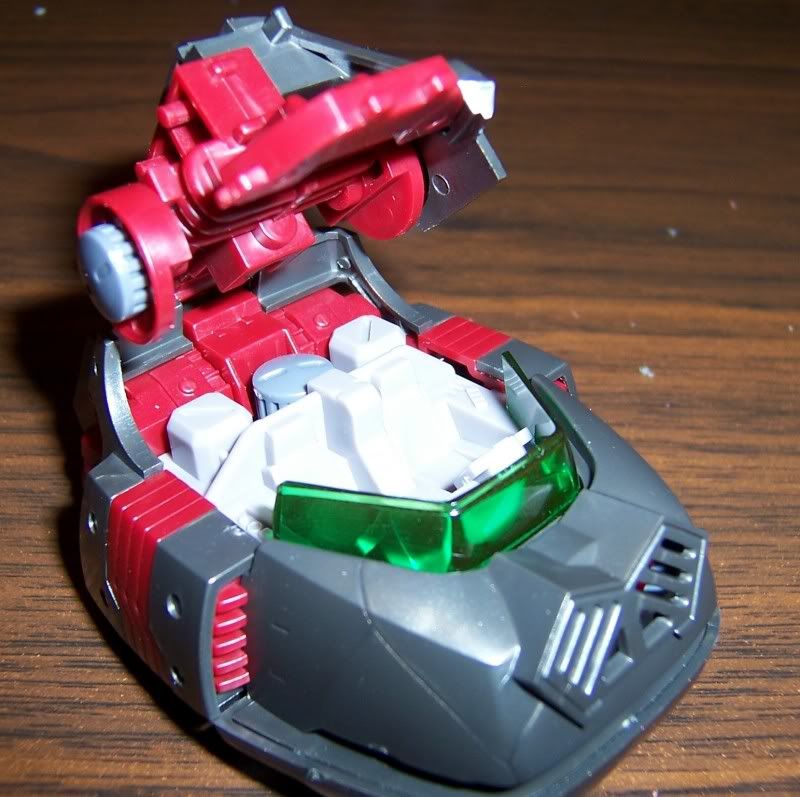
There was a note about something with putting on the lip. Obviously, I didn't know what it said and there was a bit of fiddling.
Step 4.
Assemble the pilots. Sorry, not showing that. They need their privacy.
More parts so Kong will something for the top of his head to attach to.
And it's assembled. Pilots in the background. Technically they should be in the cockpit..., but I prefer to wait until construction is finished to put them in.
Step 5:
Parts for a check. On it's head.
And it's assembled. Step 6 is the exact same thing for the other one, and is not shown.
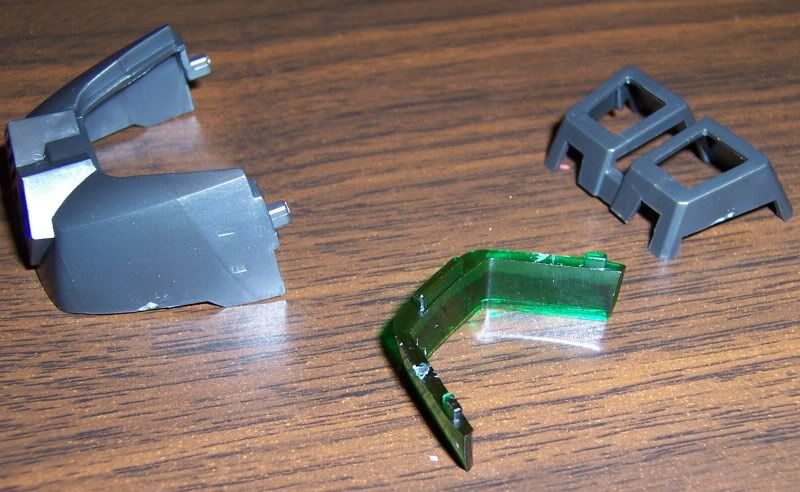
Step 7:

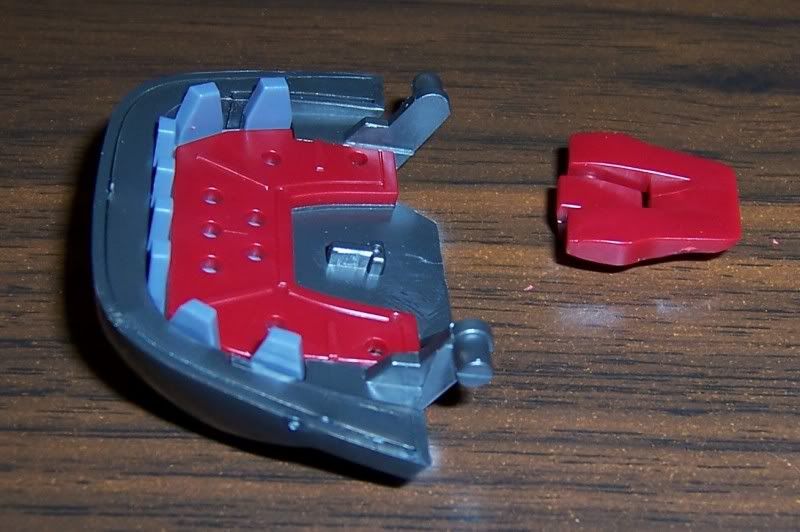
Parts shown to make the lower jaw.
It's assembled.
And what the heck is this? Do we...?
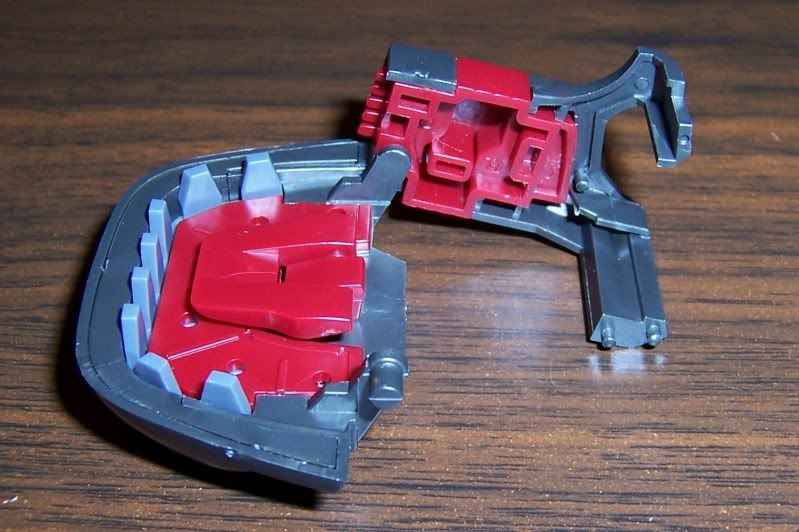
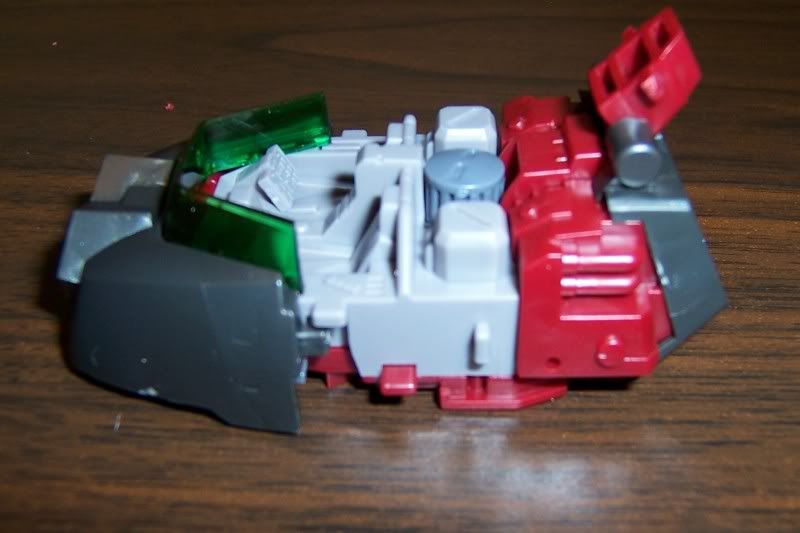
Yep, yep, yep. We have tongue. You can also see how the jaw is held in place by the check built earlier.
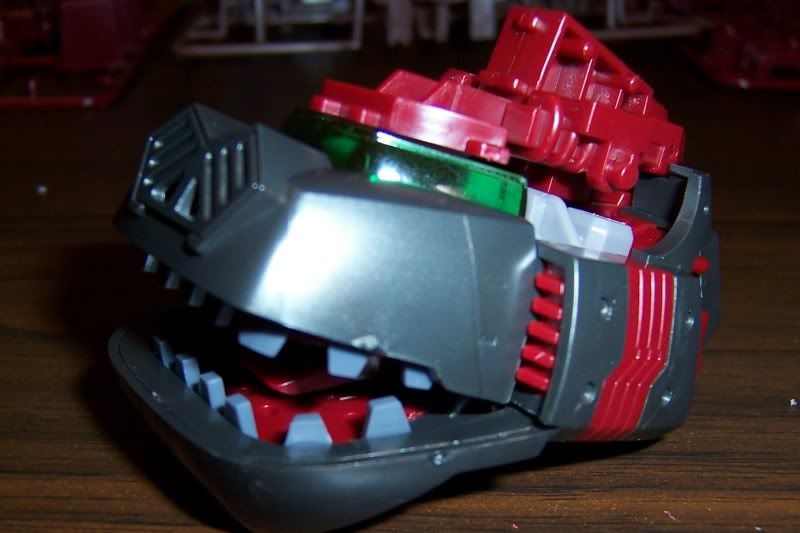
And it's all assembled. Again, straight forward.
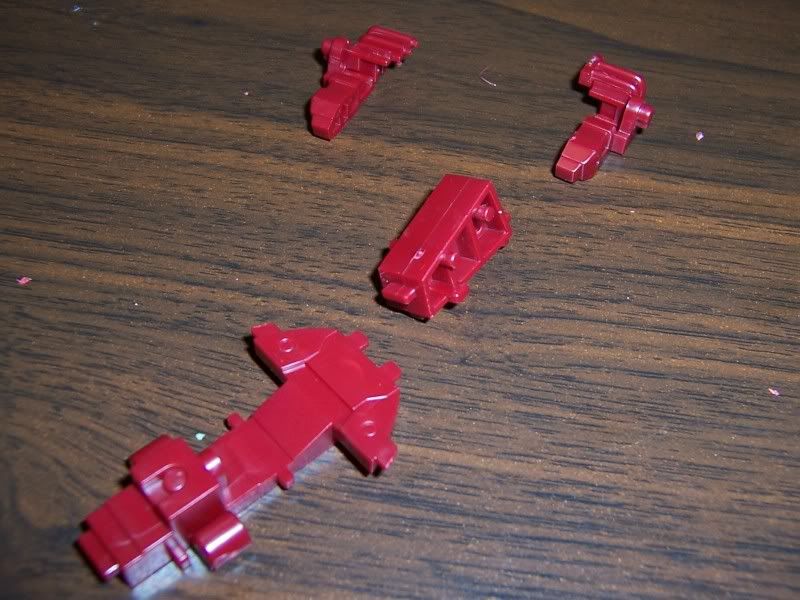
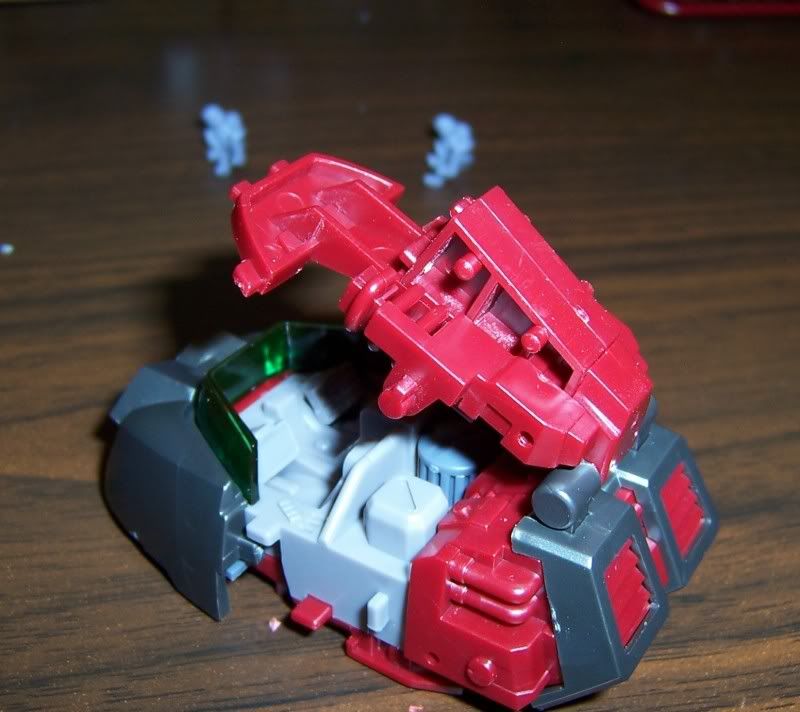
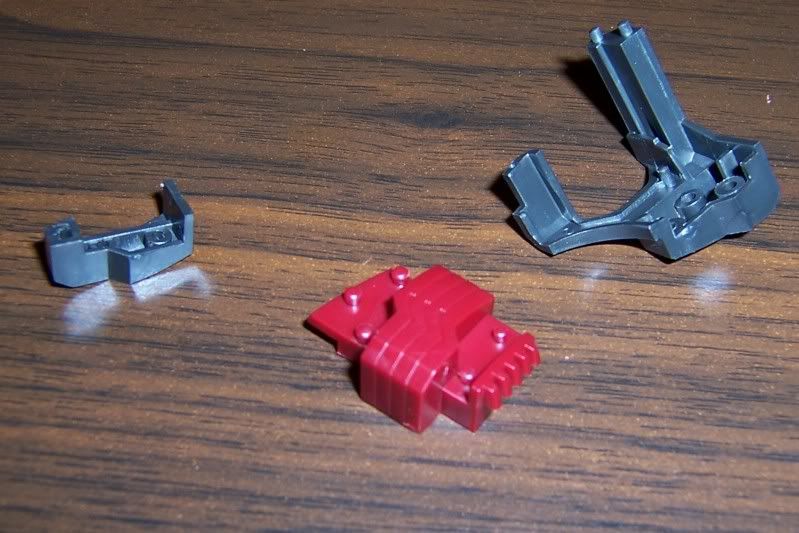
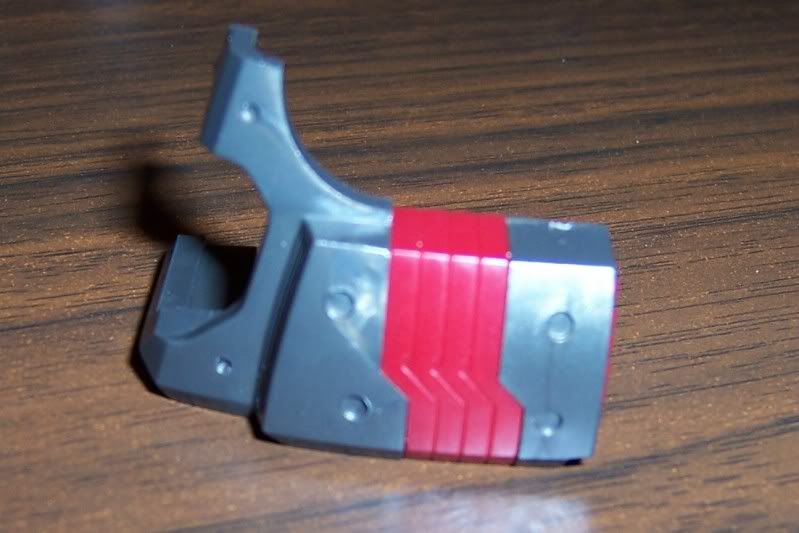
Step 8:
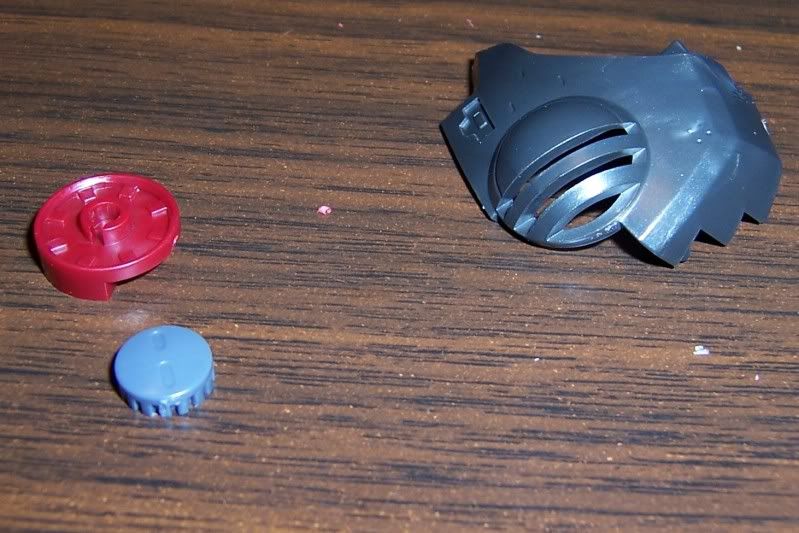
And it's the parts. Same parts for the other side, but not shown.
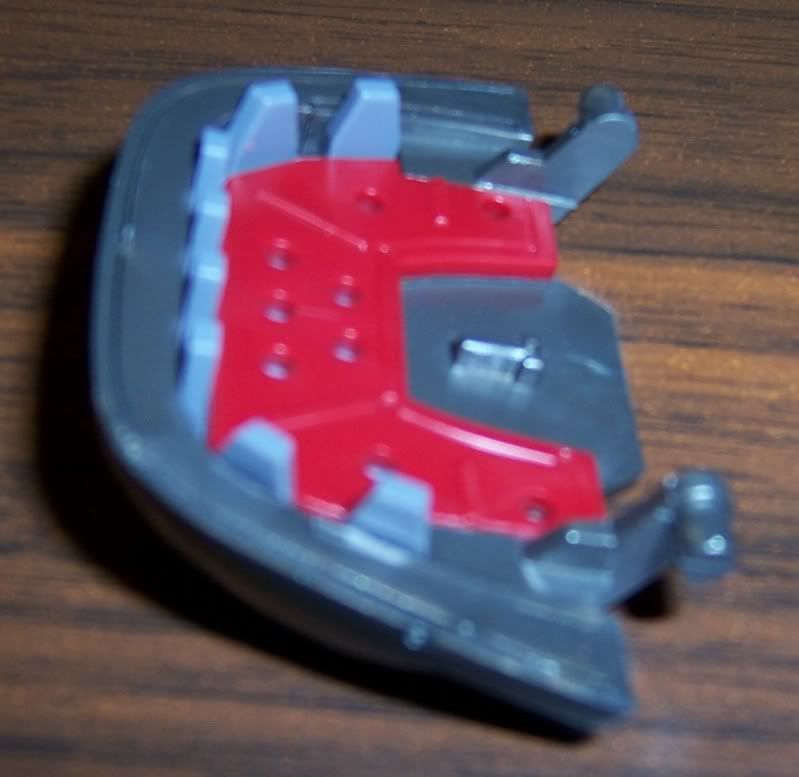
Most of the way assembled. It uses a different cap part. Another interesting note is that there's a groove in the red part so that the cap can only fit in a certain way, showing some nice detail..., which is then covered up.
Step 9:
About to give the Kong a shiny forhead.
It's the newest rage, a smiling disembodied gorilla head.
Work on the body to start..., sometime.
Please join me on an adventure as I lose my sanity while constructing HMM Iron Kong.
The first task at hand was getting the frames out of their plastic wrap (a few had already managed that, which was slightly disconcerting) and get them alphabetized and laid out. Said frames can be view here. Replace the 1 with 2 through 9 to see them all.
Ten minutes later, it was time to start construction.
Step 1:
The parts are laid out. Assembling them is straightforward, except for that one piece in the center. The instructions didn't give much detail (yay!), so I put it in the only way it would go.
Halfway there...
And 'er we go. Step one complete!
Onwards, to step 2!
And the parts. I find it odd that there are 3 different types of caps. There are also two different consoles. One with buttons, one with a screen. And they must go in the right place, no left one in the right or vice versa say the instructions. On one hand, I appreciate the detail. On the other hand, I find it odd how this is very apparent in the instructions, but other parts (see step 1) are more vague.
And that's what it looks like assembled. Step 1 is also added.
Step 3.
Parts.
And they are assembled and stuck on to Step 2. Nothing special.
But there are more parts!
There was a note about something with putting on the lip. Obviously, I didn't know what it said and there was a bit of fiddling.
Step 4.
Assemble the pilots. Sorry, not showing that. They need their privacy.
More parts so Kong will something for the top of his head to attach to.
And it's assembled. Pilots in the background. Technically they should be in the cockpit..., but I prefer to wait until construction is finished to put them in.
Step 5:
Parts for a check. On it's head.
And it's assembled. Step 6 is the exact same thing for the other one, and is not shown.
Step 7:
Parts shown to make the lower jaw.
It's assembled.
And what the heck is this? Do we...?
Yep, yep, yep. We have tongue. You can also see how the jaw is held in place by the check built earlier.
And it's all assembled. Again, straight forward.
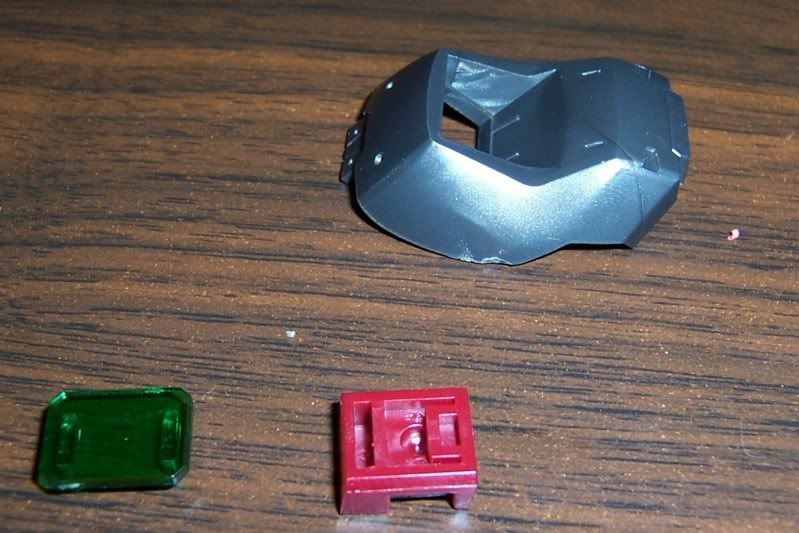
Step 8:
And it's the parts. Same parts for the other side, but not shown.
Most of the way assembled. It uses a different cap part. Another interesting note is that there's a groove in the red part so that the cap can only fit in a certain way, showing some nice detail..., which is then covered up.
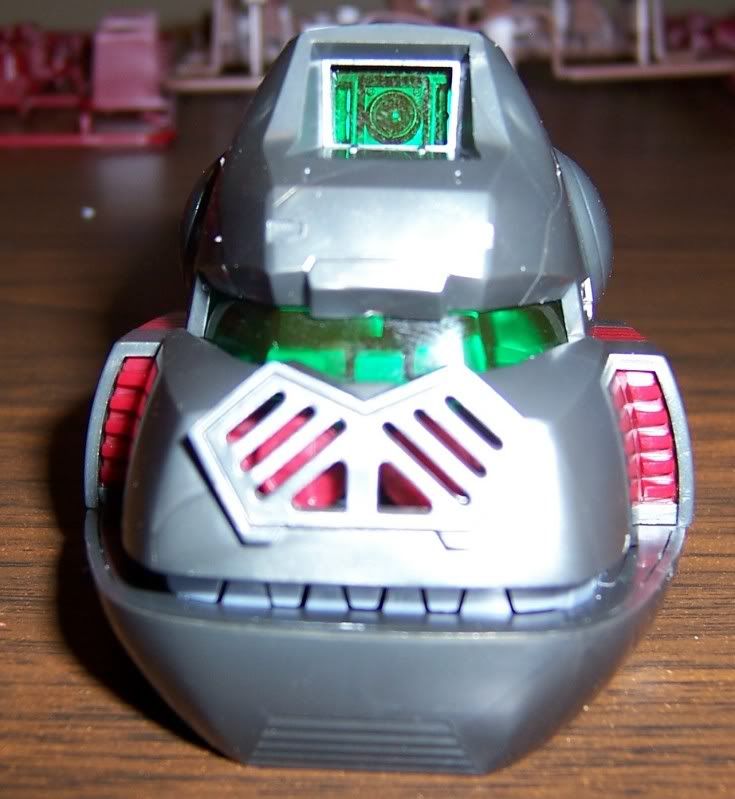
Step 9:
About to give the Kong a shiny forhead.
It's the newest rage, a smiling disembodied gorilla head.
Work on the body to start..., sometime.